

Github MHI-AC-CTRL wie auf ESP8266 "installieren"?
-
Hallo,
kurz vorab ich habe zwei Mitsubishi Heavy Industrie Klimaanlagen. Diese haben beide das gleiche WLAN Modul verbaut, leider ist das nicht wirklich zuverlässig und macht immer wieder mal Probleme ( @hacki11 und @MrLarodos können das bestätigen).
Nun bin ich aufmerksam gemacht worden auf dieses github Projekt wo das WLAN Modul ersetzt und die Daten per mqtt übermittelt werden.
https://github.com/absalom-muc/MHI-AC-Ctrl?tab=readme-ov-file
Das ganze würde ich gerne mit einem wemos mini D1 mit einem ESP8266 umsetzen. Ich bin es aber nur gewohnt einfache .bin Dateien zu flashen.
In der Anleitung steht das man die mqtt client libary v2.7 installieren soll. Wie genau, oder mit welcher software macht man das?
https://github.com/knolleary/pubsubclient
Wäre super wenn ihr mir Schritt für Schritt weiter helfen könntet. Schon mal vielen Dank :-)
-
Hier gibt’s das ganze auch auf Basis von ESPHome, denk das wär viel einfacher zum Laufen zu bekommen.
-
Hier gibt’s das ganze auch auf Basis von ESPHome, denk das wär viel einfacher zum Laufen zu bekommen.
Das habe ich schon gesehen. ESPHome builder hab ich in einer VM laufen und der Adapter läuft auch. Kannst du mich da etwas unterstützen?
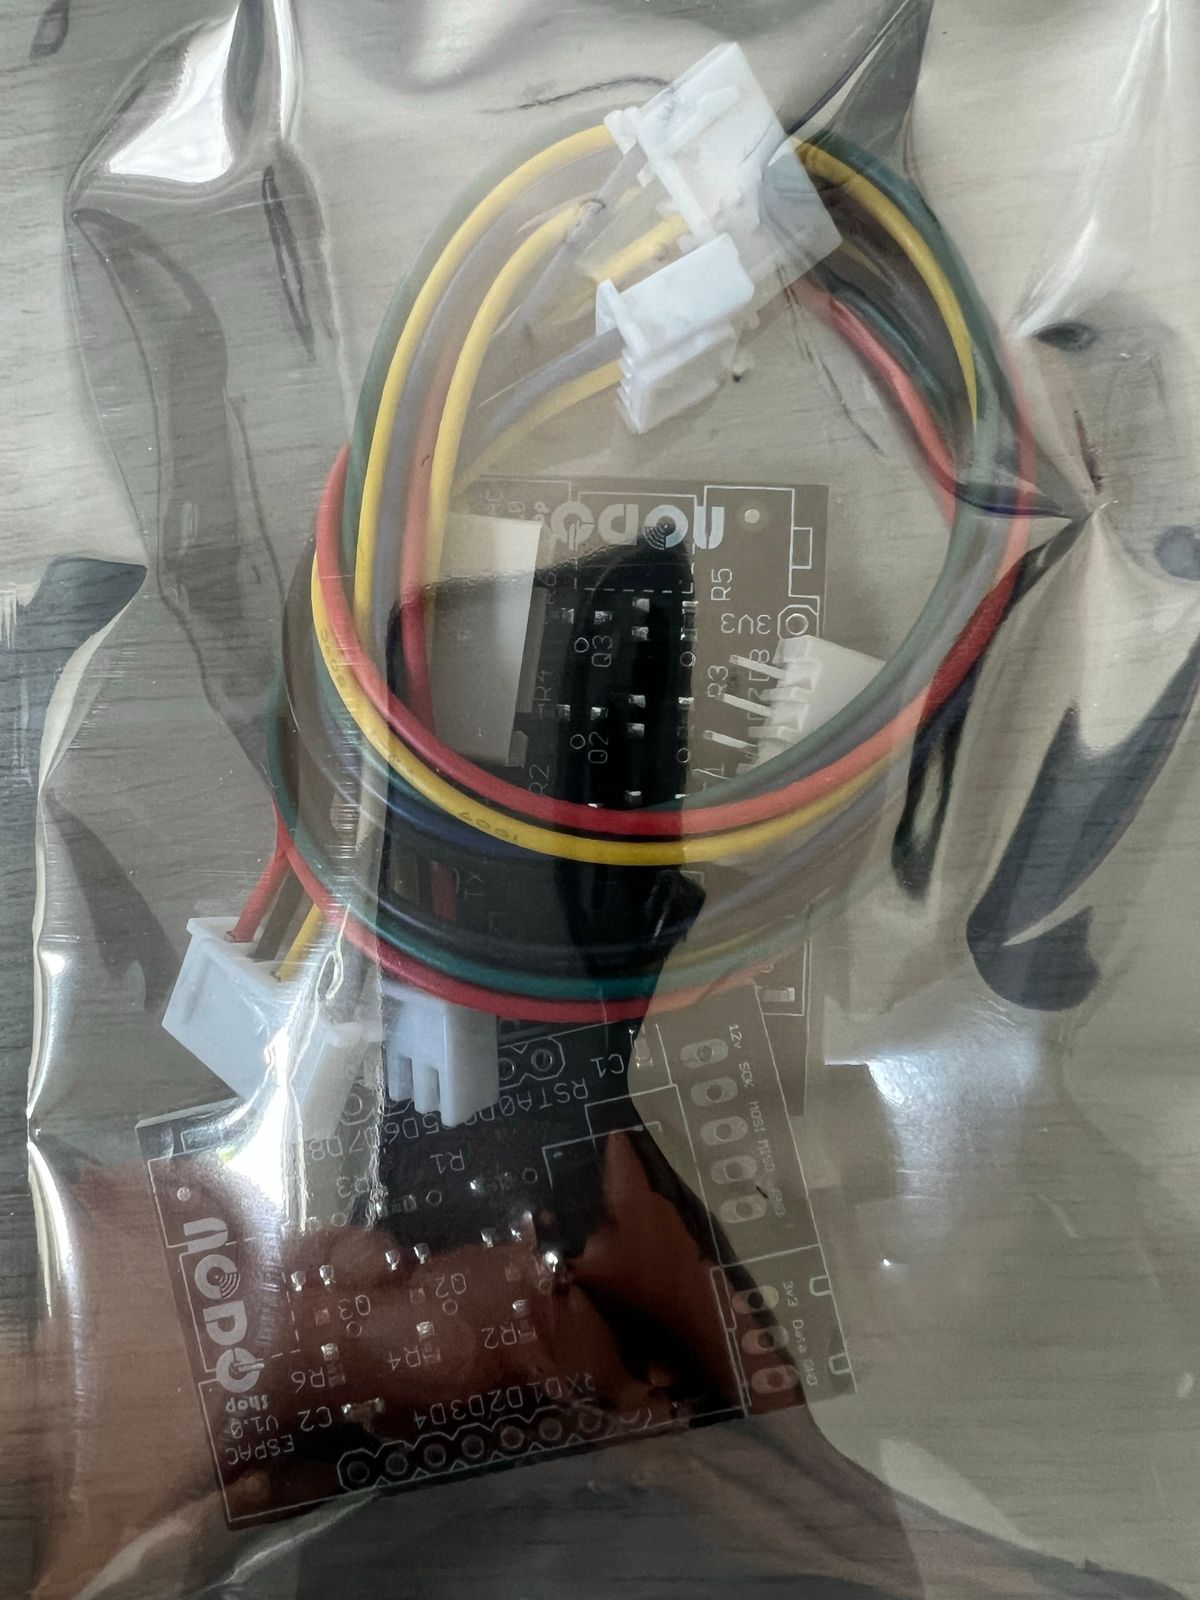
Hardware ist heute gekommen ging echt schnell..
Ich würde einfach die full.yaml nehmen und auf den wemos flashen. Ist es so einfach?
esphome: name: <device name> friendly_name: <friendly name> min_version: 2024.6.0 platformio_options: # Run CPU at 160Mhz to fix mhi_ac_ctrl_core.loop error: -2 board_build.f_cpu: 160000000L esp8266: board: d1_mini logger: level: INFO baud_rate: 0 ota: - platform: esphome password: <pass here> wifi: ssid: !secret wifi_ssid password: !secret wifi_password # Enable fallback hotspot (captive portal) in case wifi connection fails ap: ssid: <hotspot name> password: <hotspot pass> captive_portal: external_components: - source: github://ginkage/MHI-AC-Ctrl-ESPHome@master components: [MhiAcCtrl] api: encryption: key: <your key here> reboot_timeout: 0s services: - service: set_vertical_vanes variables: position_value: int # 1-4: static positions, 5: swing, 0: unknown then: - climate.mhi.set_vertical_vanes: position: !lambda "return position_value;" - service: set_horizontal_vanes variables: position_value: int # 1-7: static positions, 8: swing, 0: unknown then: - climate.mhi.set_horizontal_vanes: position: !lambda "return position_value;" - service: set_external_room_temperature variables: temperature_value: float # temperature to set in Celsius then: - climate.mhi.set_external_room_temperature: temperature: !lambda "return temperature_value;" # Version 4.0 MhiAcCtrl: # Only 20 (legacy) or 33 (includes 3D auto and vertical vanes) possible. # If you encounter mhi_ac_ctrl_core.loop error: -2 errors, change the frame_size to 20 frame_size: 33 initial_vertical_vanes_position: 5 initial_horizontal_vanes_position: 8 # Update the following to change the default room temp timeout room_temp_timeout: 60 button: - platform: restart name: Restart entity_category: diagnostic climate: - platform: MhiAcCtrl name: "MHI Air Conditioner" visual: temperature_step: target_temperature: 0.5 current_temperature: 0.1 time: - platform: homeassistant id: homeassistant_time binary_sensor: - platform: MhiAcCtrl defrost: name: "Defrost" vanes_3d_auto_enabled: name: "3D Auto" sensor: - platform: uptime name: Uptime - platform: wifi_signal name: WiFi Signal update_interval: 60s - platform: MhiAcCtrl outdoor_temperature: name: "Outdoor temperature" return_air_temperature: name: "Return air temperature" outdoor_unit_fan_speed: name: "Outdoor unit fan speed" indoor_unit_fan_speed: name: "Indoor unit fan speed" compressor_frequency: name: "Compressor frequency" indoor_unit_total_run_time: name: "Indoor unit total run time" compressor_total_run_time: name: "Compressor total run time" current_power: name: "Current power" energy_used: name: "Energy used" indoor_unit_thi_r1: name: "Indoor (U-bend) HE temp 1" indoor_unit_thi_r2: name: "Indoor (capillary) HE temp 2" indoor_unit_thi_r3: name: "Indoor (suction header) HE temp 3" outdoor_unit_tho_r1: name: "Outdoor HE temp" outdoor_unit_expansion_valve: name: "Outdoor unit exp. valve" outdoor_unit_discharge_pipe: name: "Outdoor unit discharge pipe" outdoor_unit_discharge_pipe_super_heat: name: "Outdoor unit discharge pipe super heat" protection_state_number: name: "Compressor protection code" error_code: name: "Error code" vanes_pos: name: "Vanes" vanesLR_pos: name: "Vanes Left/Right" text_sensor: - platform: version name: ESPHome Version - platform: wifi_info ip_address: name: IP ssid: name: SSID bssid: name: BSSID - platform: MhiAcCtrl protection_state: name: "Compressor protection status" select: - platform: MhiAcCtrl vertical_vanes: name: Fan Control Up Down horizontal_vanes: name: Fan Control Left Right switch: - platform: MhiAcCtrl vanes_3d_auto: name: "3D Auto" -
Hey, seit ihr da schon weiter? Ich hänge auch gerade an der Softwar und kriege es nicht hin.
-
Hey, seit ihr da schon weiter? Ich hänge auch gerade an der Softwar und kriege es nicht hin.
@marc-gramsch Die Arduino Software herunterladen, unter Werkzeuge >> Boad im Bordverwalter das eigene Board auswählen, evtl. noch installieren und den Port auswählen.
Dann unter Werkzeuge Bibliothekenverwaltung die im Github genannten Bibliotheken in der genannten Version installieren.
Unter Werkzeuge CPU Frequence auf 160 MHz stellen, dann die Frequenz, Flashgröße und so weiter an das vorhandene Board anpassen.
Im Sourcecode in der support.h die IP Adresse vom mqtt Server (meist ioBroker) und WLAN SSID und Passwort eintragen.
Dann zum Test kompilieren lassen, gibt es keine Fehlermeldungen, dann hochladen lassen und schauen, ob es fehlerfrei hochgeladen wird. Bei einigen Boards muss man beim Reset / einstecken noch einen Taster drücken, um in den Programmiermodus zu wechseln. Klappt das Hochladen nicht fehlerfrei, die Flashmethode umstellen, z.B. auf DIO. Da zur Not bissel probieren.
Bei mir lässt es sich kompilieren. Allerdings habe ich weder eine solche Klimaanlage, noch einenESP8266 rumliegen.
Hey! Du scheinst an dieser Unterhaltung interessiert zu sein, hast aber noch kein Konto.
Hast du es satt, bei jedem Besuch durch die gleichen Beiträge zu scrollen? Wenn du dich für ein Konto anmeldest, kommst du immer genau dorthin zurück, wo du zuvor warst, und kannst dich über neue Antworten benachrichtigen lassen (entweder per E-Mail oder Push-Benachrichtigung). Du kannst auch Lesezeichen speichern und Beiträge positiv bewerten, um anderen Community-Mitgliedern deine Wertschätzung zu zeigen.
Mit deinem Input könnte dieser Beitrag noch besser werden 💗
Registrieren AnmeldenSupport us
443
Online32.9k
Benutzer83.1k
Themen1.3m
Beiträge